If you are the portal administrator (or the administrator has granted you the appropriate permission privileges) you can execute all actions related to portal nodes. These actions include adding new nodes or editing, copying, moving, deleting or cloning existing nodes.
Add a new node
-
**
Click on Site then click on Edit Navigation of the portal you want to modify.
-
**
Select a node from list (to create a new node like sub-node of the selected node) or click the Up icon to create a new node at the root level of the portal. -
**
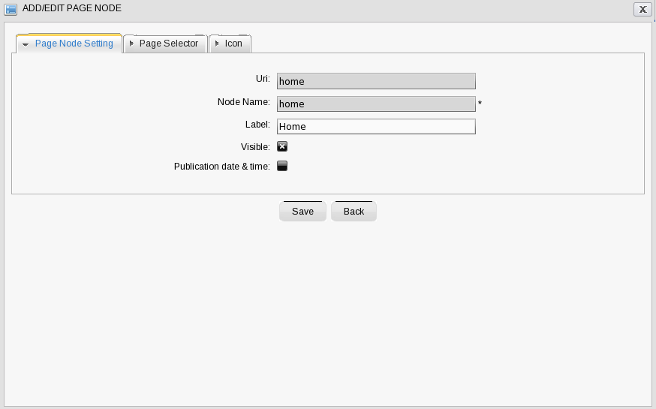
Right-click on the selected navigation or node and select Add new Node option. The Add new node form appears: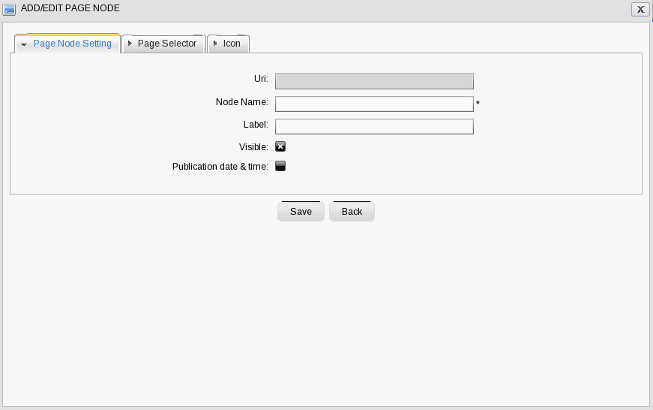
The Page Node Setting tab includes:
-
Uri
An identification of the node. The Uri is automatically created after adding a new node
-
Node name
The name of the node. This field is required and must be unique. Only alpha, digit and underscore characters are allowed for this field and it must have at least 3 characters.
-
Label
The display name of the node on the screen. This field is not required and may be changed. This field must have a length between 3 and 120 characters.
-
Visible
This check box allows administrators to hide (and show) the page and its node at the navigation bar, the page navigation and the site map
-
Publication date & time
This option allows publishing this node for a period of time. Start Publication Date and End Publication Date only appear when this option is selected.
-
Start Publication Date
The start date and time to publish the node.
-
End Publication Date
The end date and time to publish the node.
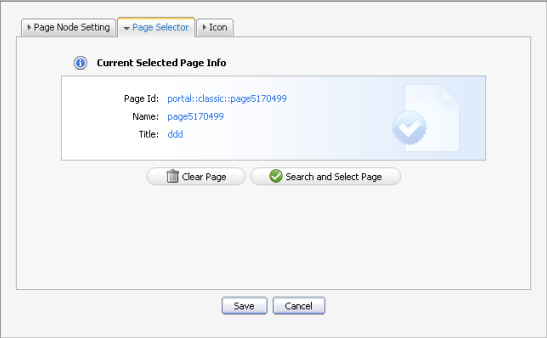
In the Page Selector tab, you can select a page or not for this node.
-
Page Id
The identification string of the page.
-
Name
The selected page's name.
-
Title
The selected page's title.
You do not have to enter values in these fields. They are automatically populated after selecting an existing page by clicking the Search and Select Page button.
The Select Page form appears:
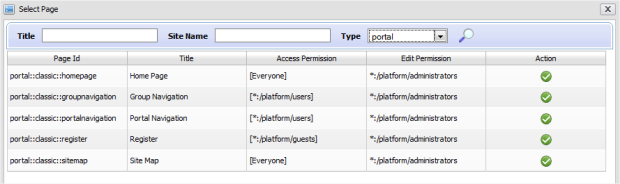
This window lists all existing pages of Portal or Group with basic information for each page.
To select a page for creating a node, simply select a page from the list or search for a specific page as follows:
-
**
Enter your page title into the Title field to do search to Title;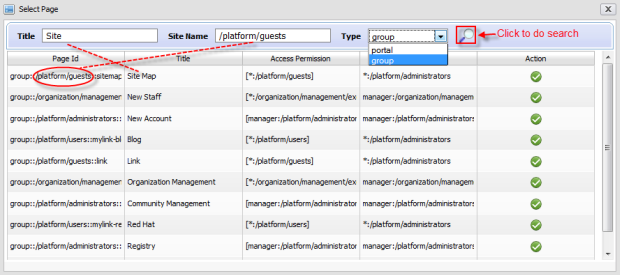
Or, enter the site name into the Site Name field to do search to the page's site name;
Or, enter values into both fields to futher limit your search results by both Title and Site Name. -
**
Select the area in which you wish to search into the Type field. -
**
Click images/Search_button.png to perform your search. All pages matching your search criteria will be listed. -
**
Click images/Select_page_icon.png on the row of the page you wish to select.
After selecting a page, the details of this page will be displayed in the Page Selector form.
After configuring the page node settings, the page selector and the node's icon, click the Save button to accept or the Cancel button to quit without creating a new node.
Edit a node
-
**
Click Site, then click Edit Navigation of the portal you want to modify. -
**
Right-click on the selected node and select Edit this Node option.
This will display a form to edit this node:
-
**
In the Page Node Setting tab you can change the value of these fields:-
Label
-
Visible
-
Publication Date & time
-
-
**
After you finish making the desired changes, click the Save button to accept changes or Cancel button to exit without change. -
**
In the Page Selector tab you can also search and select another page for this node by clicking the Search and Select Page button.
You can see more details on how to select a page for a node in sect-User_Guide-Manage_Navigation_Nodes-Add_a_new_node.
After you finish edit any another page required for this node, click the Save button to accept changing or Cancel button to leave without saving any changes.
Copy a node
-
**
Click on Site then click on Edit Navigation of the portal you want to modify. -
**
Right-click on the selected node and select Copy node option.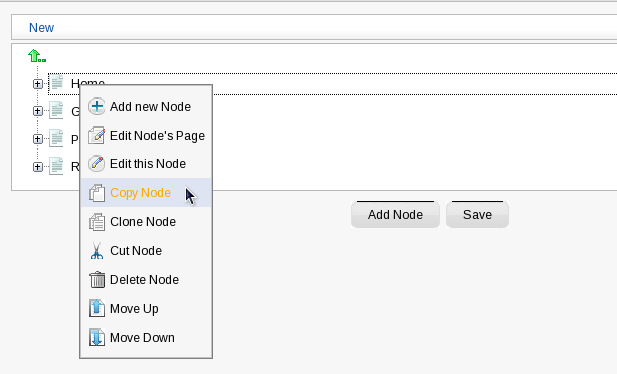
-
**
Select the position that you want to paste this node and select Paste Node option. Click the mark icon to Save.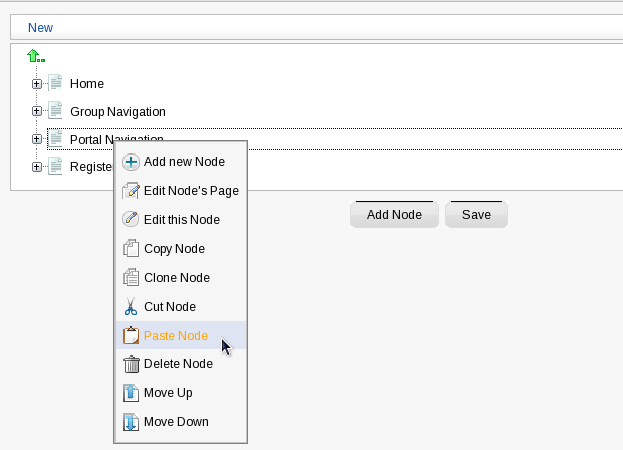
Clone nodes
The Clone node function allows you to copy a node.
The differences between clone node and copy node is that the clone node has its own page and which has the same content as the selected node.
Therefore there will be a new page that has the same name as the cloned node's page shown in the page list when you access Manage Pages.
-
**
Click on Site then click on Edit Navigation of the portal you want to modify. -
**
Right-click on selected node and select Clone node option.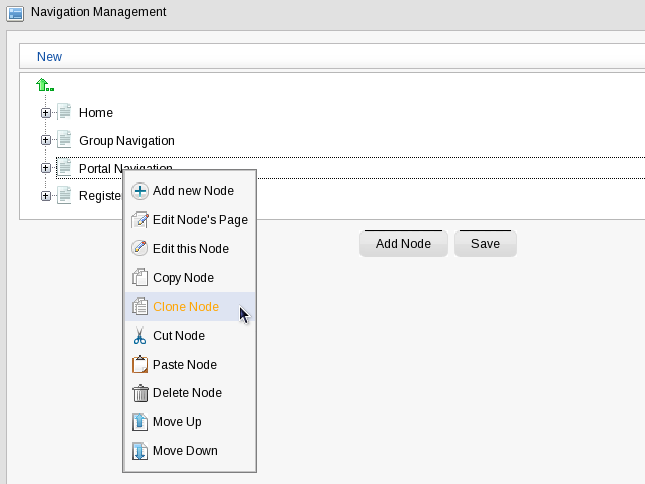
-
**
Select the position that you want to paste this node and select Paste Node option. Click the mark icon to Save.
Cut a node
-
**
Click on Site then click on Edit Navigation of the portal you want to modify. -
**
Right-click on the selected node and select Cut node option.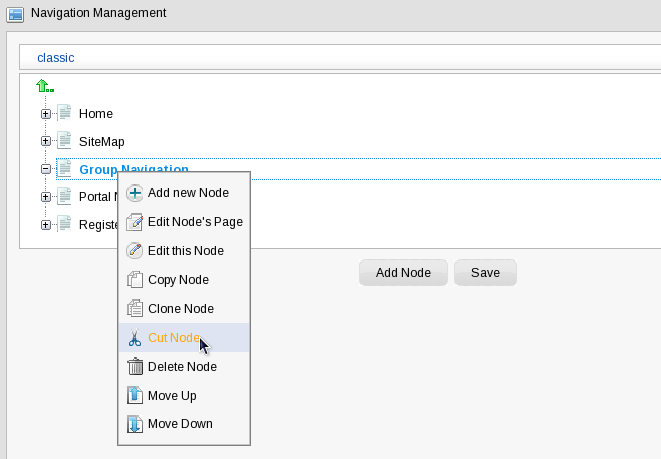
-
**
Select the position that you want to paste this node and select Paste Node option. mark icon to Save.
Delete a node
-
**
Click on Site then click on Edit Navigation of the portal you want to modify. -
**
Right-click on the selected node and select Delete node option.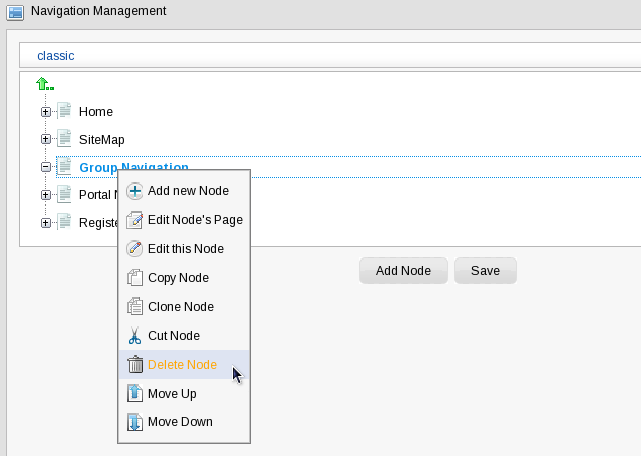
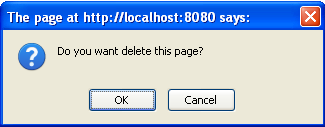
It will display an alert message confirming the removal of the node. Click the OK button to accept the deletion or Cancel button to quit without deleting the node.
Change Node Order
You can easily change the position of nodes in the navigation bar following these steps:
-
**
Click on Site then click on Edit Navigation of the portal you want to modify. -
**
Select the node that you want to move. Right click on the selected node and then click on Move up or Move down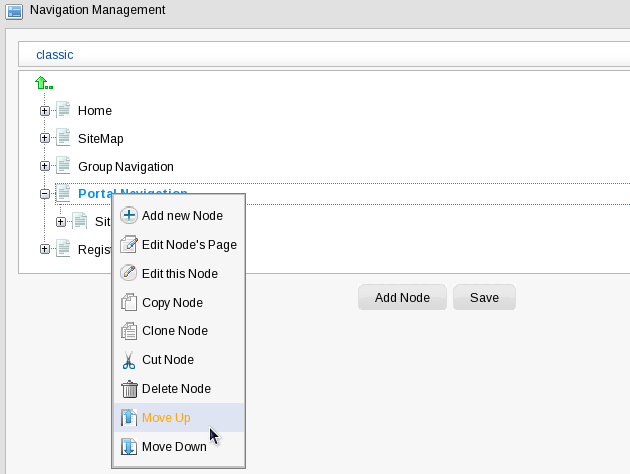
-
**
The selected node will be moved up or down within the list.